There is no shortage of modules in the PowerShell Gallery for building modules. In fact, there are at least a dozen actively managed modules capable of building complex modules. So, you might ask, why choose ModuleTools and what makes it special? Allow me to explain.
Building modules doesn’t have to be complex or an all-or-nothing process. While I have drawn a lot of inspiration from InvokeBuild and the Sampler module builder, they are overly complex and have a steep learning curve. They introduce their own assert, exec, and requires syntax that you need to learn. They depend on several other Modules (like psake, plaster).
Introducing ModuleTools
ModuleTools employs a straightforward structure and a single data file (project.json) to manage the entire module development process. It allows you to build, run Pester tests, or perform semantic version upgrades with ease. You can customize its usage by selecting only the tasks you need, such as invoking builds while skipping tests. Additionally, the same commands work seamlessly for both local and pipeline builds.
It is entirely self-contained, eliminating the need for scaffolding tools (like Plaster), build tools (like Psake), or the maintenance of non-functional helper files (like psd1 and build.ps1).
Find the source code for SecretBackup module on GitHub which will be used for reference in below examples.
Why Build at all?
If you have built module yourself or know what you are doing, skip directly to next section
Unlike other compiled languages, there is no formal concept of a “build” in PowerShell development. However, creating a well-organized and easy-to-manage PowerShell module requires a certain structure and organization. Build tools help achieve this by generating the necessary structure with ease.
The organizational structure is the most compelling reason to have a build mechanism. Instead of cramming hundreds of lines of code into a single psm1 file, it’s more efficient to give each function its own file.

The idea is that each file contains one function, and each function performs a single task. This approach makes files and functions easier to manage and control through versioning.
Getting Started with ModuleTools
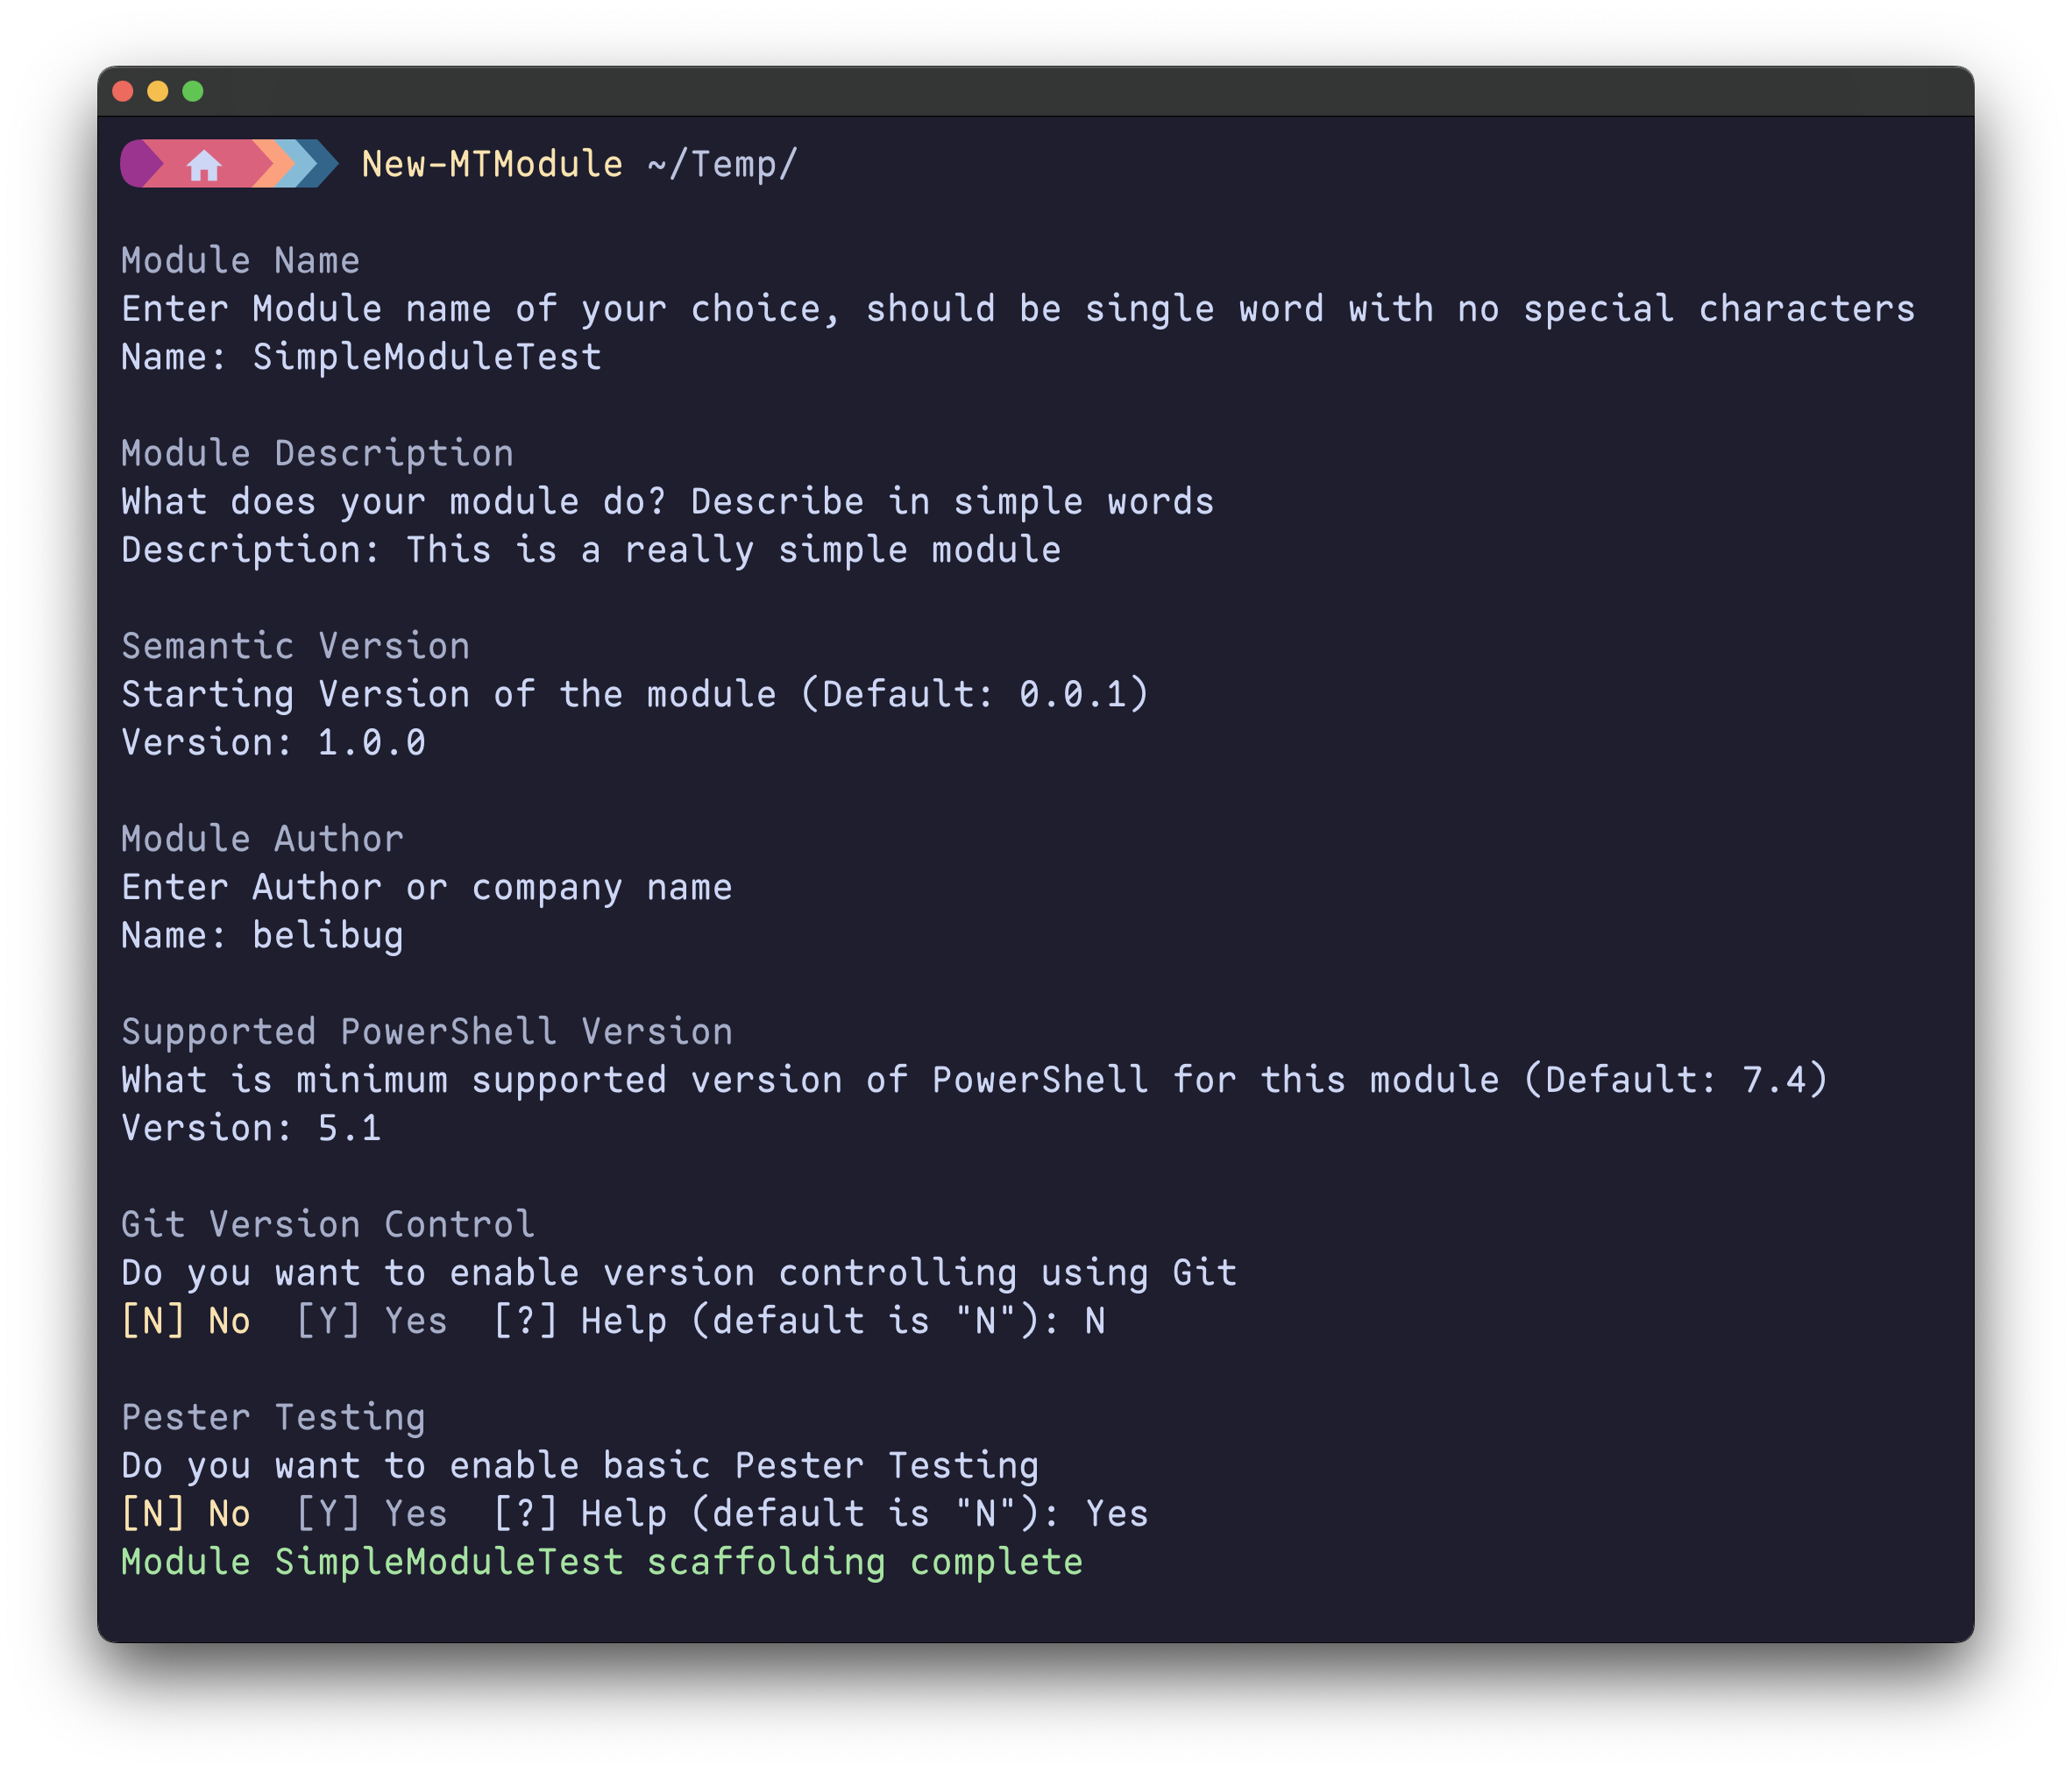
New-MTModule is all you need to set up your project. In fewer than six interactive steps, you’ll be ready to start writing beautiful modules. Below is a screenshot of setting up a test module project.
Project JSON file
This file contains key information about the project, including everything from the module’s GUID to the Pester configuration. It is created automatically with New-MTModule, or you can copy a sample file from here.
{
  "ProjectName": "ModuleName",
  "Description": "Description of Module",
  "Version": "0.0.1",
  "Manifest": {
    "Author": "Manjunath Beli",
    "PowerShellHostVersion": "7.4",
    "GUID": "Use New-Guid to generate guid",
    "Tags": [],
    "ProjecUri": ""
  }
}
Folder Structure
If you used the New-MTModule command the folder structure is already setup for you. If you like doing it manually, these are important folders

Each folder serves a purpose
| Folder | Purpose |
|---|---|
| Root\project.json | This is main project info file in json format |
| Src\private | Functions required for module but not exposed to user |
| Src\public | Functions that are exposed in module |
| Src\resources | Any file you want to ship with module (like config.ini image.jpg) |
| tests | all the pester tests |
| dist | auto generated, the output of ModuleTools invoke build command |
For instance, this is folder structure in one of my module SecretBackup

PowerShell Functions
I like to break my functions into simple, one-task-only scripts. The name of the function doesn’t matter, but each file should contain only one top level function. Everything in the public folder gets exported as module commands, while everything in the private folder is accessible within the module but not exposed to the user.
Sample Function
# File SayHello.ps1
function Write-Greetings {
	Write-Host "Hello Stranger!"
}
Name of the file is not important, ensure the content of file has one top level function only.
Build
Building a module is as simple as Invoke-MTBuild. Use -Verbose if you want to see more details during build. It takes less than a second to build.

Tests
You can also easily run Tests using Invoke-MTTest. Ensure all your tests are in tests folder in root directory of project.
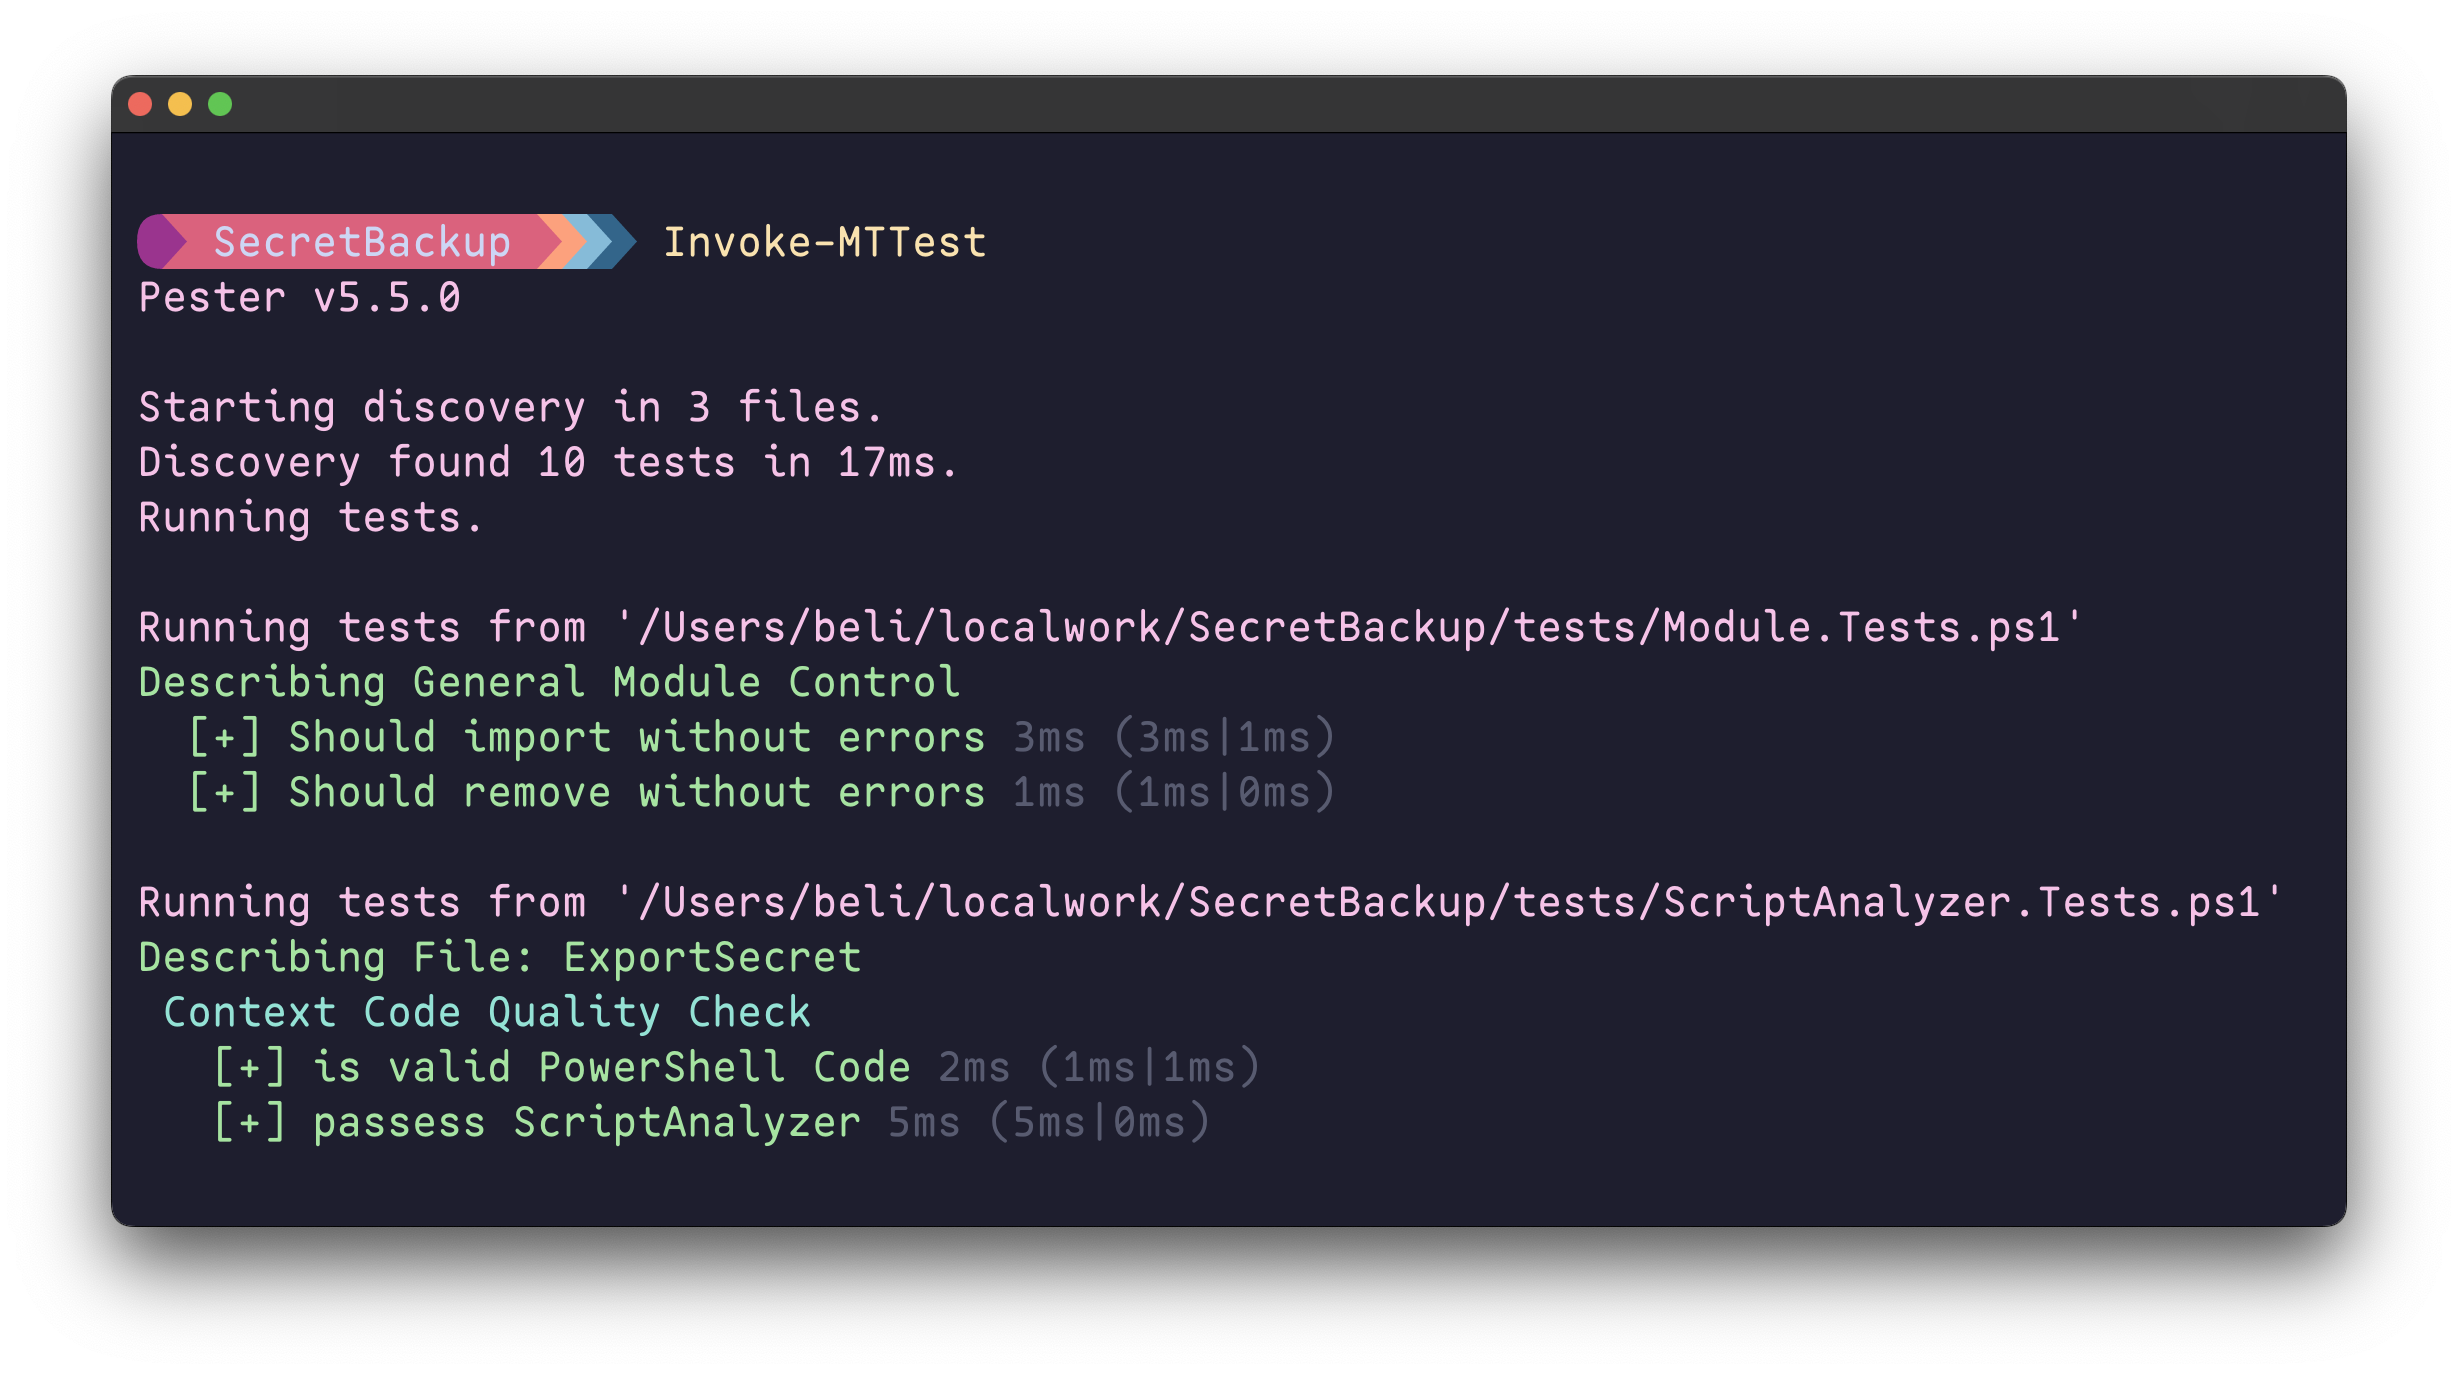
All the pester configuration can be stored in project.json which makes running pester test easy and consistent.
Output
Output files are kept in the dist folder located in the project’s root directory. Each time you run a build, this directory is cleaned up, and the module is built from scratch.

Automation
All configuration details are stored in project.json, which is easy to parse and use in automation. The module also includes the Get-MTProjectInfo command, which provides additional properties of the module, allowing you to easily incorporate them into Pester tests and automation.
All commands are terminating on error, which means you can run them sequentially for easy automation.
# File run.ps1

## Build Module
Invoke-MTBuild

## Perform Tests
Invoke-MTTest

## Publish Module
Publish-PSResource -Repository PrivateOwn -path ./dist/SecretBackup
This simple flow ensures that the module is published (step-3) only if the Build (step-1) and Tests (step-2) run without errors.
Github Actions
Module builds can be easily automated using GitHub Actions since all the necessary build commands are contained within the single ModuleTools module. Simply install the module, import it, run the build, and you’re good to go.
Sample github action flow, using no 3rd party actions, on a ubuntu host.
name: Publish to Packages

# Controls when the workflow will run
on:
  workflow_dispatch:

jobs:
  build:
    runs-on: ubuntu-latest
    steps:
      - uses: actions/checkout@v4

      - name: Install ModuleTools module form PSGallery
        run: Install-PSResource -Repository PSGallery -Name ModuleTools -TrustRepository
        shell: pwsh

      - name: Build Module
        run: Invoke-MTBuild -Verbose
        shell: pwsh

      - name: Run Pester Tests
        run: Invoke-MTTest
        shell: pwsh

      - name: Publish Package to Github
        run: Publish-PSResource -Path ./dist/ModuleTools -Repository PSGallery -ApiKey $Env:ApiKey
        env:
          ApiKey: ${{ secrets.PSGALLERY_API }}
        shell: pwsh
Conclusion
In conclusion, ModuleTools simplifies PowerShell module development by offering a straightforward approach to organizing functions into single-task scripts, managed through a unified project.json configuration.
With ModuleTools, you can easily transform your scattered or lengthy scripts into the well-structured modules you’ve always aimed for.
Got ideas or feedback? Drop them in github issues/discussion! Let’s make building PowerShell modules easier and more awesome together.