Transitioning from writing individual scripts to creating a PowerShell module is a small step with significant rewards. Once you’ve crafted your own module, the possibilities are endless. However, why stop there when you can share your module with the world through a public repository like PSGallery? Publishing your modules to public registries offers numerous advantages.
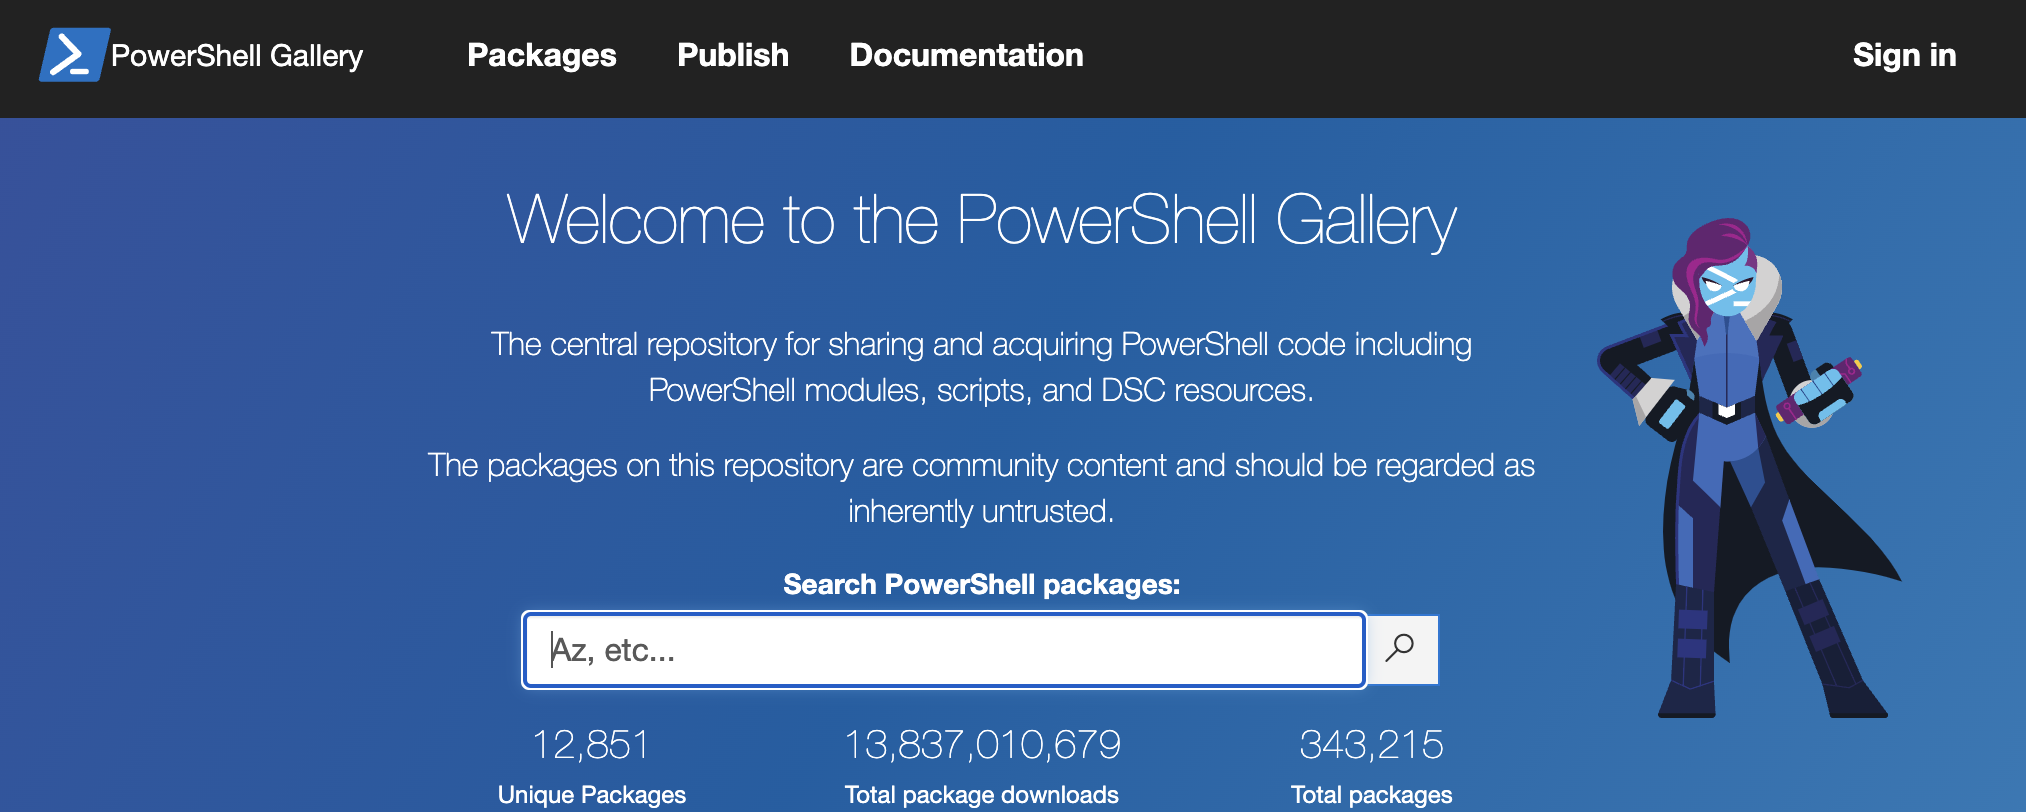
I published my own Module last week, check it out for reference SecretBackup - PSgallery
Why publish
You might think your module is too niche, not well-organized, or come up with countless reasons to avoid going public. However, there are several benefits to publishing your module:
Encourages you to remove private or personally identifiable code from your module.
Prompts you to generalize the module so it works on any machine.
Provides an opportunity to learn about APIs and the PSGallery contribution process.
Enhances your skills with Git and platforms like GitHub or GitLab when creating a public repository to share your code.
Helps you adhere to best practices in coding and module development.
Enhances communication skills by learning to express your ideas clearly.
Establishes a public profile for yourself and fosters contributions to the community
Sample Module on PowerShell Gallery. Everything from source, tests and build scripts are in the repo. Shows how simple and automated publishing module to PSGallery can be!
How to get started
There are several guides available on how to write and publish modules to PSGallery, with one of the best being the Microsoft Docs guide. This article aims to provide you with the essential basics to help you get started.
Prepare Module
First you have to get the module ready and meet PSGallery standards. One can get by a simple local module with just .psm1 file. This will not be sufficient for PSGallery. Below are minim requirement for PSGallery module.
Manifest File
Your module must include a manifest file (.psd1). This file contains the metadata for your module and requires several fields to be updated to meet PSGallery requirements. All the information displayed on PSGallery is retrieved from the content of the .psd1 file. Key fields to update include:
- Module Name
- Version (using Semantic Versioning)
- Tags (for visibility and searchability)
- Project URI (optional but recommended)
You can create a template manifest file using the New-ModuleManifest cmdlet. This template serves as a reference for all the fields you can update. It’s best to populate as much information as possible to ensure your module is well-documented and easily discoverable.
Write Help
Local modules often don’t receive much attention when it comes to documentation, as they are typically used by you or a small team nearby. However, a complete stranger on the other side of the world won’t have any idea how to run or use the commands in your module. Therefore, it’s crucial to write detailed help for each function, complete with examples. There are two key places where you can provide this explanation for your module:
- Comment-Based Help: Used to provide detailed help for individual commands within the module.
- Repository README Page: Contains descriptions of the module, its approach, design decisions, and roadmap.
Module Structure
This is optional initially, but quickly becomes crucial, especially when others want to contribute. If your entire module is contained within a single psm1 file, understanding and contributing to it becomes nearly impossible. There are several methods and best practices for structuring a module, such as this one by Kevin Marauette, that help create readable and easy-to-collaborate modules.

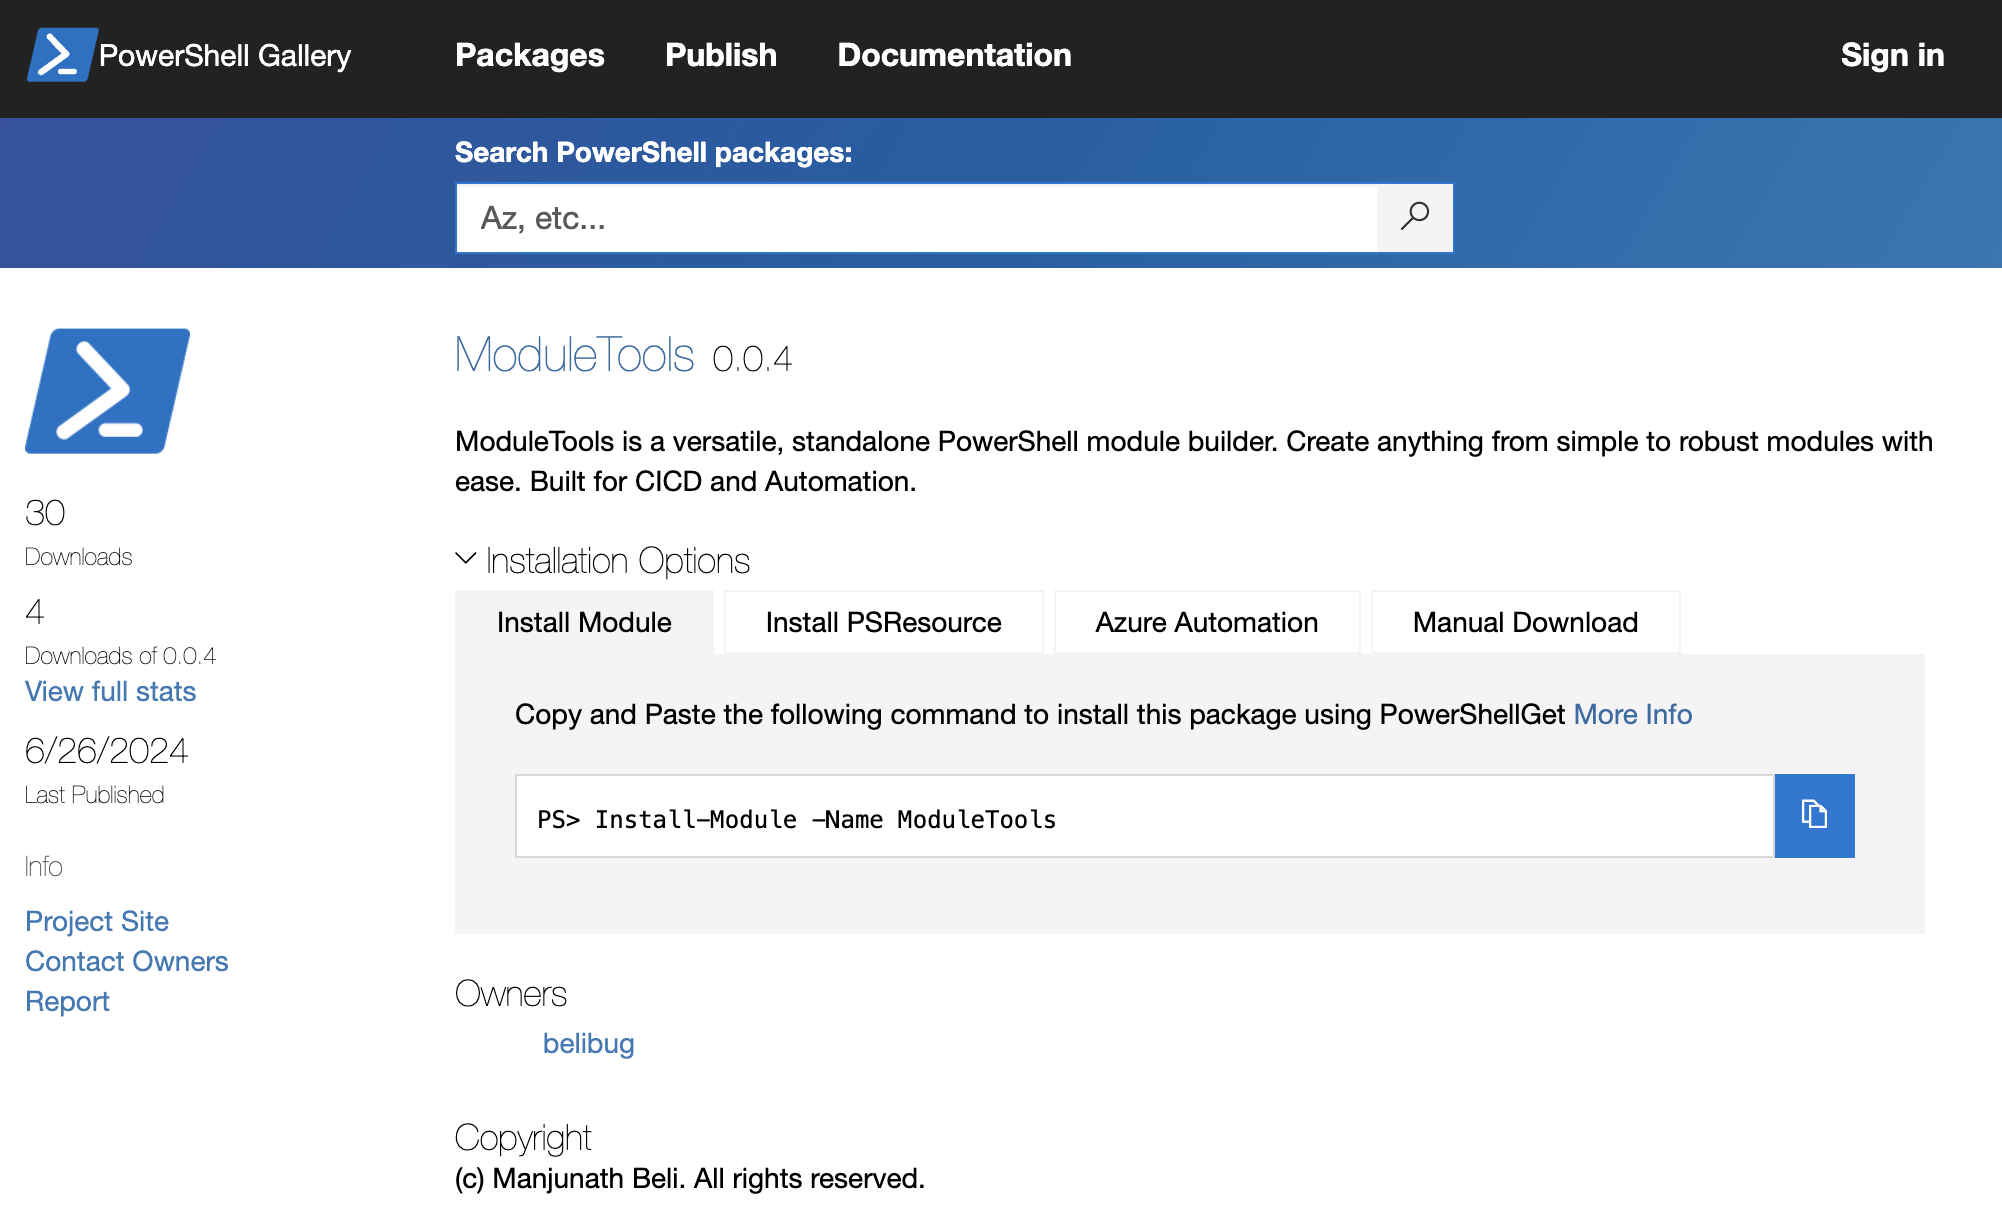
I have a Module built just to make building module simple and efficient. Check out ModuleTools. You can download the ModuleTools from [PSGallery](https://www.powershellgallery.com/packages/ModuleTools.
Install-Module -Name ModuleTools
Code Quality and Testing
Parameter naming conventions, function naming conventions, and even the content in your help files become crucial when sharing code with others. Writing code that is easy for others to read also makes it easier for you to revisit and understand years later.
Testing is initially optional but becomes crucial when ensuring your module doesn’t break on other machines. Pester tests simplify running tests (easy to run as CI) and help ensure that adding or modifying code doesn’t affect existing functions.
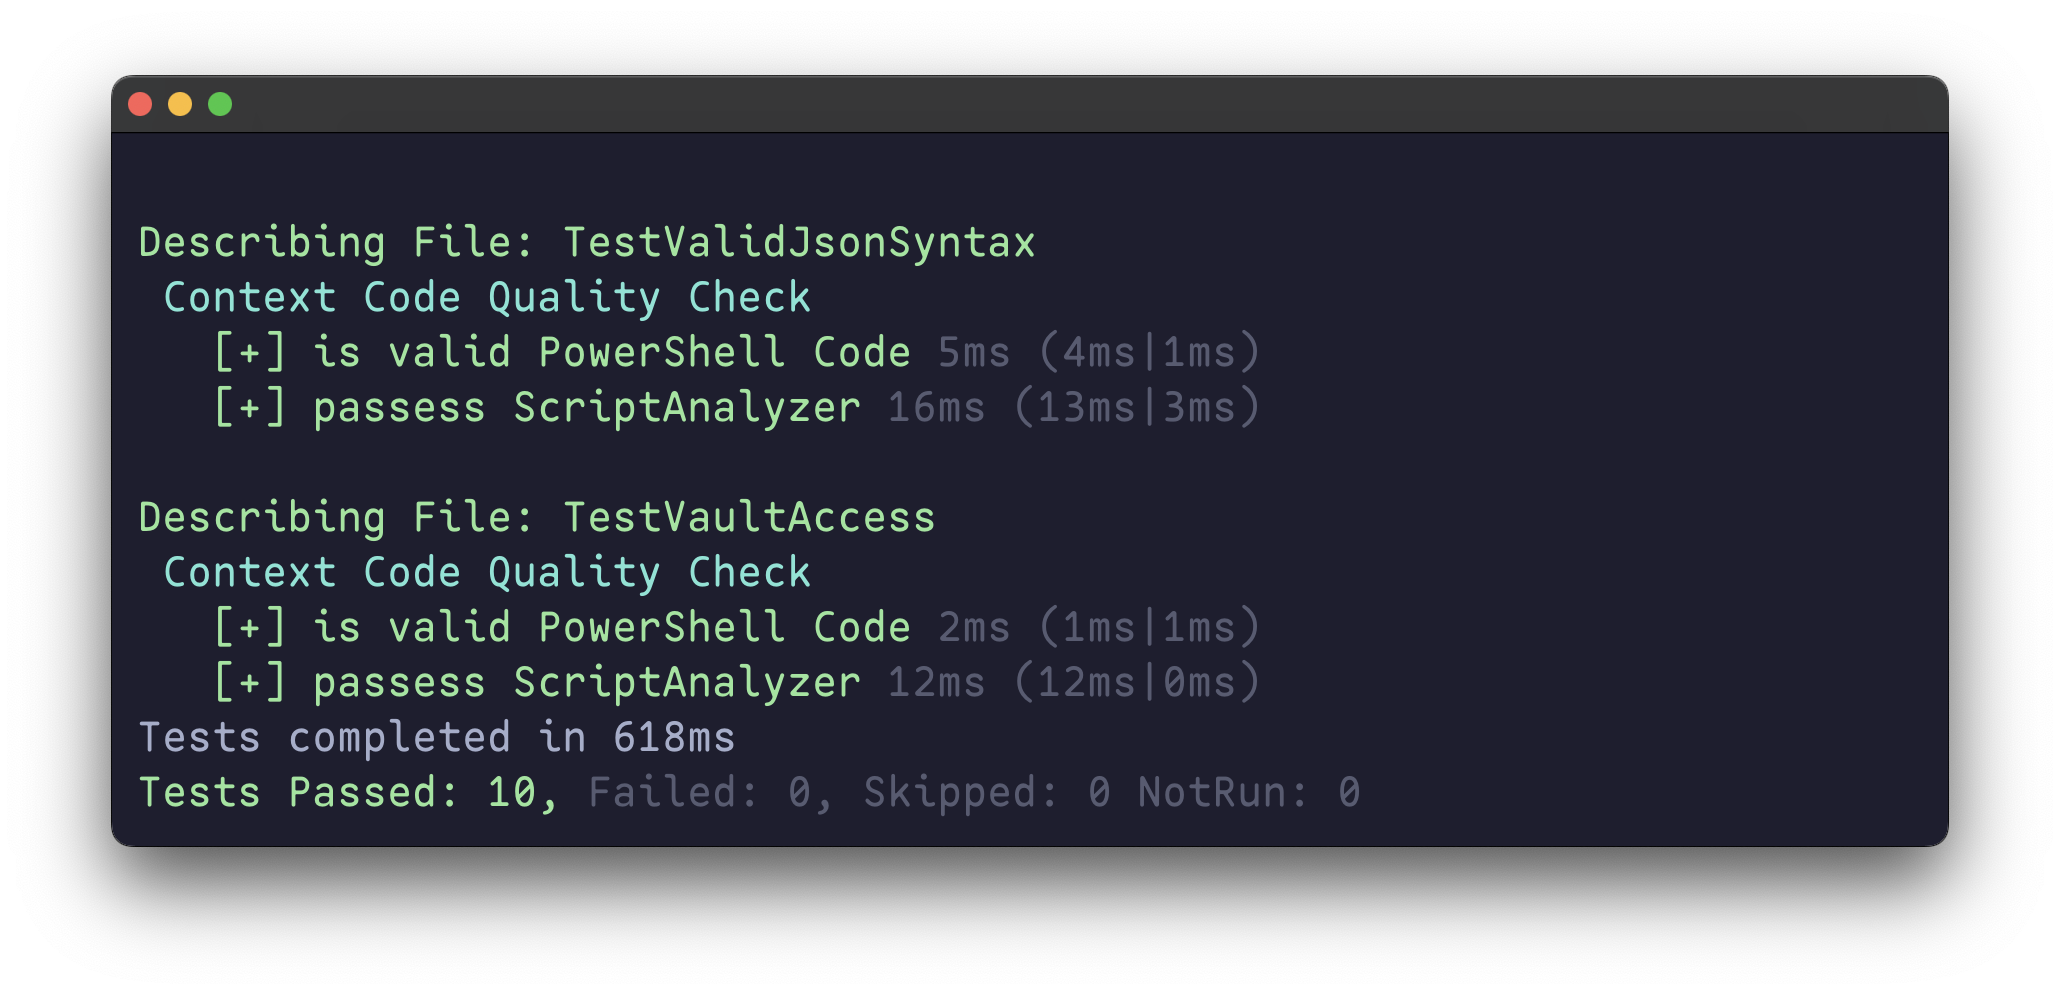
Pester syntax might seem daunting to get started, but once you get the basics it becomes as simple as any PowerShell script.
Publish Locally
Set up a local file share-based Private NuGet repository on your machine and practice publishing to it. This will help you become proficient before you’re ready to publish to PSGallery.
Conclusion
In conclusion, publishing your PowerShell module to PSGallery opens up a world of opportunities. By following best practices in module development, writing clear documentation, and incorporating testing, you not only enhance your module’s usability but also contribute positively to the community. Embrace the journey from writing scripts to creating modules—it’s a rewarding experience that strengthens your coding skills and fosters collaboration with others worldwide. Start sharing your creations today and see how your contributions can make a difference. Happy coding!